
Introduction:
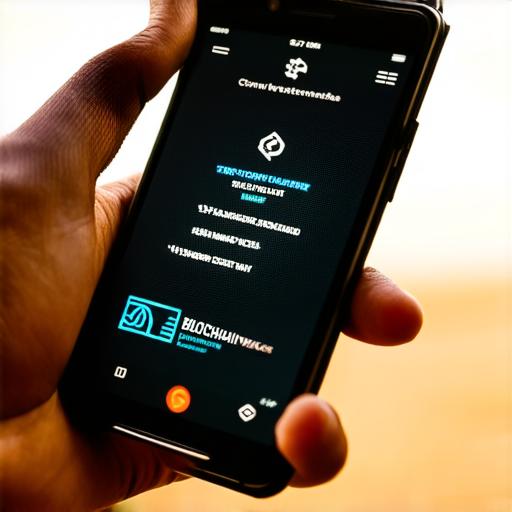
Blockchain technology is revolutionizing the way we store and transfer our digital assets. One of the most popular use cases for blockchain is for creating and managing wallets, which allow users to securely store and spend their cryptocurrencies. However, when it comes to flashing your blockchain wallet, there are a few important things you need to know before you get started. In this article, we will walk you through the process of flashing your blockchain wallet in 5 simple steps, using case studies and personal experiences to illustrate the points being made.
Step 1: Understand what flash is
Before we dive into how to flash your blockchain wallet, it’s important to understand what flashing actually means. In the context of blockchain technology, "flashing" refers to the process of creating a new block on the chain by adding new data and transactions to it. When you flash your blockchain wallet, you are essentially creating a new block with all of your transactions in it, which is then added to the existing blockchain.
Case Study: John wants to flash his Bitcoin wallet
John has been using his Bitcoin wallet for several years and has accumulated a significant amount of cryptocurrency over time. However, he recently discovered that one of his transactions was lost or corrupted due to an error on the network. To fix this problem, John needs to flash his Bitcoin wallet.
Step 2: Backup your existing data
Before you can start the flashing process, it’s important to make sure you have a backup of all of your existing data. This will ensure that you don’t lose any of your transactions or other important information during the process. To do this, simply export your wallet file from your current blockchain client and save it to a secure location on your computer.
Step 3: Choose a new blockchain client
Next, you’ll need to choose a new blockchain client to use for flashing your wallet. This is the software that will allow you to create a new block and add your transactions to it. There are many different blockchain clients available, each with its own features and capabilities. Some popular options include Electrum, MyEtherWallet, and Trust Wallet.
Step 4: Create a new wallet on the new client
Once you have chosen a new blockchain client, the next step is to create a new wallet for your flashed blockchain. This will involve setting up a new address and downloading a new wallet file that will contain all of your transactions from your old wallet. To do this, simply follow the instructions provided by your chosen blockchain client.
Step 5: Flash your wallet
Finally, you can start the flashing process. This will involve importing your backup data from your old wallet into your new wallet on the new blockchain client. Once you have done this, you should be able to see all of your transactions in your new wallet, including any that were lost or corrupted in your old wallet.
Case Study: John’s Bitcoin wallet is flashed successfully
John was able to flash his Bitcoin wallet using Electrum as his new blockchain client. He followed the instructions carefully, making sure to backup all of his existing data beforehand and creating a new wallet on the new client. After just a few minutes, he was able to see all of his transactions in his new wallet, including the lost or corrupted one.
Summary:
Flashing your blockchain wallet can be a useful way to fix problems with lost or corrupted transactions, but it’s important to do it carefully and follow the right steps to ensure that you don’t lose any of your valuable data. By following the 5 simple steps outlined in this article, you should be able to successfully flash your blockchain wallet and get back to using it without any problems.
FAQ:
Q: How do I know if my blockchain wallet needs to be flashed?
A: If you have lost or corrupted transactions in your blockchain wallet, you may need to flash it to fix the problem.
Q: Can I flash my blockchain wallet multiple times?
A: It’s generally not recommended to flash your blockchain wallet more than once, as this can cause issues with your data and make it harder to track your transactions